Vegan Chickpea Curry
This 1-pot, 25-minute vegan chickpea curry is simple to make but packed with aromatic Indian flavors you’ll love! Featuring just a few pantry staples, it’s a protein and fiber-rich recipe that is guaranteed to earn a spot in your weekly meal rotation.
Why I love this recipe
If there is one thing I can never get enough of, it’s this quick and easy vegan chickpea curry. Not sure what to make for dinner? Vegan chickpea curry. Feeling like takeout but trying to cut back on spending? Vegan chickpea curry! Here’s why it’s so great:
- Restaurant-quality: Each spoonful is full of traditional Indian spices, meaning you can experience a restaurant-quality dish in the comfort of your home.
- Quick & easy: With a cooking time of just 20 minutes, this vegan chickpea curry is perfect for hassle-free weeknight dinners. Plus, you only need 12 pantry staples!
- Nutrient-rich: Chickpeas are a great source of protein and fiber, making them the perfect addition to a nutritious plant-based diet.
- Family-friendly: Its mild yet traditional flavors make it a hit for kids and adults alike. Everyone will be asking for seconds!
Ingredient notes

Chickpeas
Canned chickpeas or cooked from dry beans work equally well. Nothing beats the creamy, buttery-smooth texture of home-cooked chickpeas, but canned chickpeas will save you more time. Just remember to drain and rinse them thoroughly to remove excess sodium and make them easier to digest.
Substitute: Feel free to swap in cannellini beans, lentils, white kidney beans, or any other legumes you have on hand.
Green chiles
I usually use serranos since they’re easily accessible, but you can also use jalapeños, Thai green chiles, or Indian green chiles if you have access. Omit them or use bell peppers if you’re sensitive to spice.
Coconut milk
Gives the broth a creamy, full-bodied consistency and a rich, velvety flavor. Make sure to use full-fat canned coconut milk for the best results.
Substitute: Soy, pea, or cashew milk can all be used for a lighter version, but you may want to add a cornstarch slurry by combining a tablespoon of cornstarch with two tablespoons of water.
Curry powder
The main spice blend that gives this vegan chickpea curry its distinct flavor and color. Homemade or store-bought both work. If you prefer to make your own mix, try this curry powder recipe by Easy Indian Cookbook.
Canned diced tomatoes
Add acidity, juiciness, and texture. Freshly diced tomatoes also work, but you’ll need to cook them for a little longer before adding the chickpeas and liquids.
Garam masala
Adds warmth and depth to the curry. Remember to add garam masala at the end of cooking so the spices retain their freshness.
Substitute: If you don’t have garam masala available, make your own blend with ground cumin, coriander, cardamom, black pepper, cinnamon, cloves, and nutmeg.
For a complete ingredient list and step-by-step guide, scroll down to our recipe card.
Step-by-step instructions
Preparation
Chop the onions, carrots, and celery into bite-size pieces. Cut them into similar sizes to prevent uneven cooking. Drain the beans and rinse them thoroughly under running water.
Then, chop the green beans and any other vegetables you’re adding. It may seem simple but prepping everything in advance makes the cooking process so much quicker and easier!
Cooking
Step 1: Start by sautéing the onions in coconut oil until they turn translucent. Remember, we’re building layers of taste, so be patient and let them release their natural sweetness.
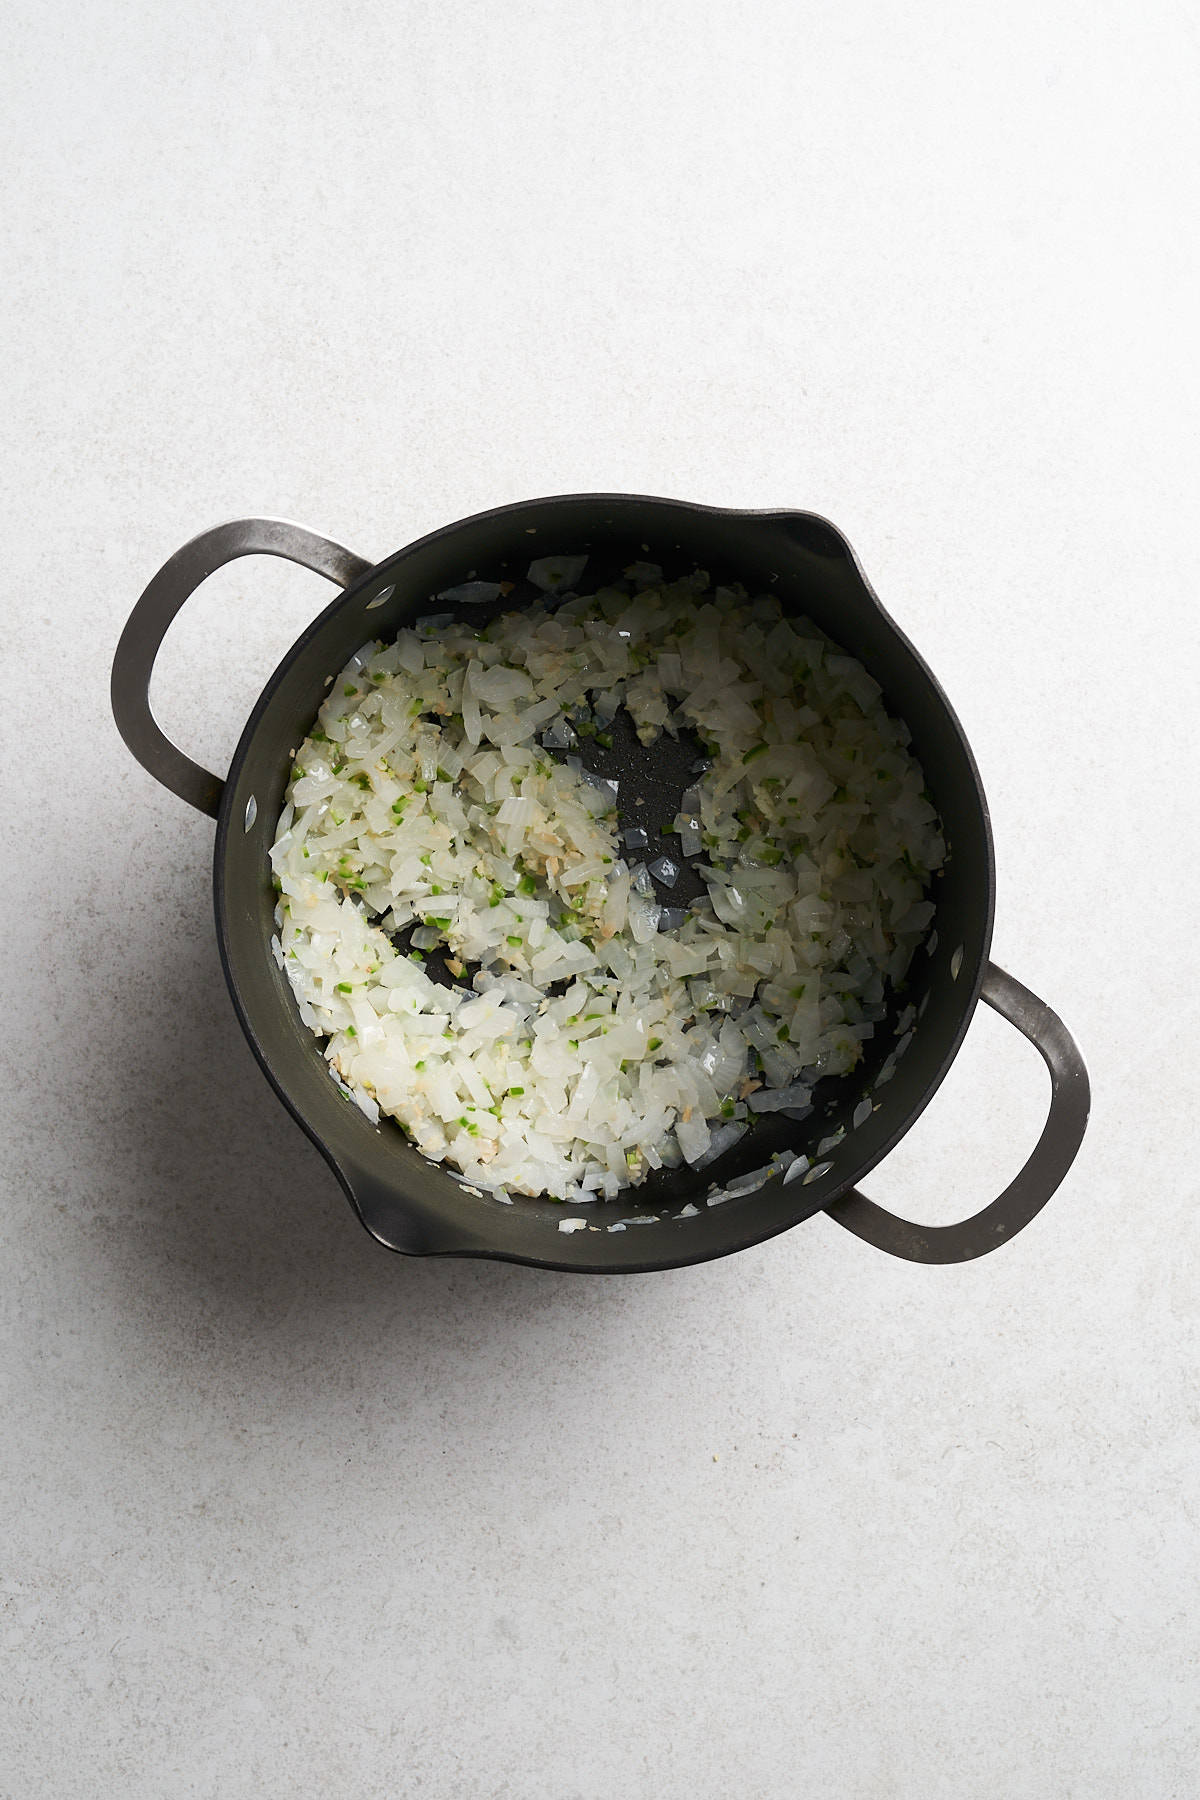
Step 2: Stir in the minced garlic, ginger, and green chiles, cooking for a couple of minutes until they release their aromas. Then, add the curry powder and give it a stir again.

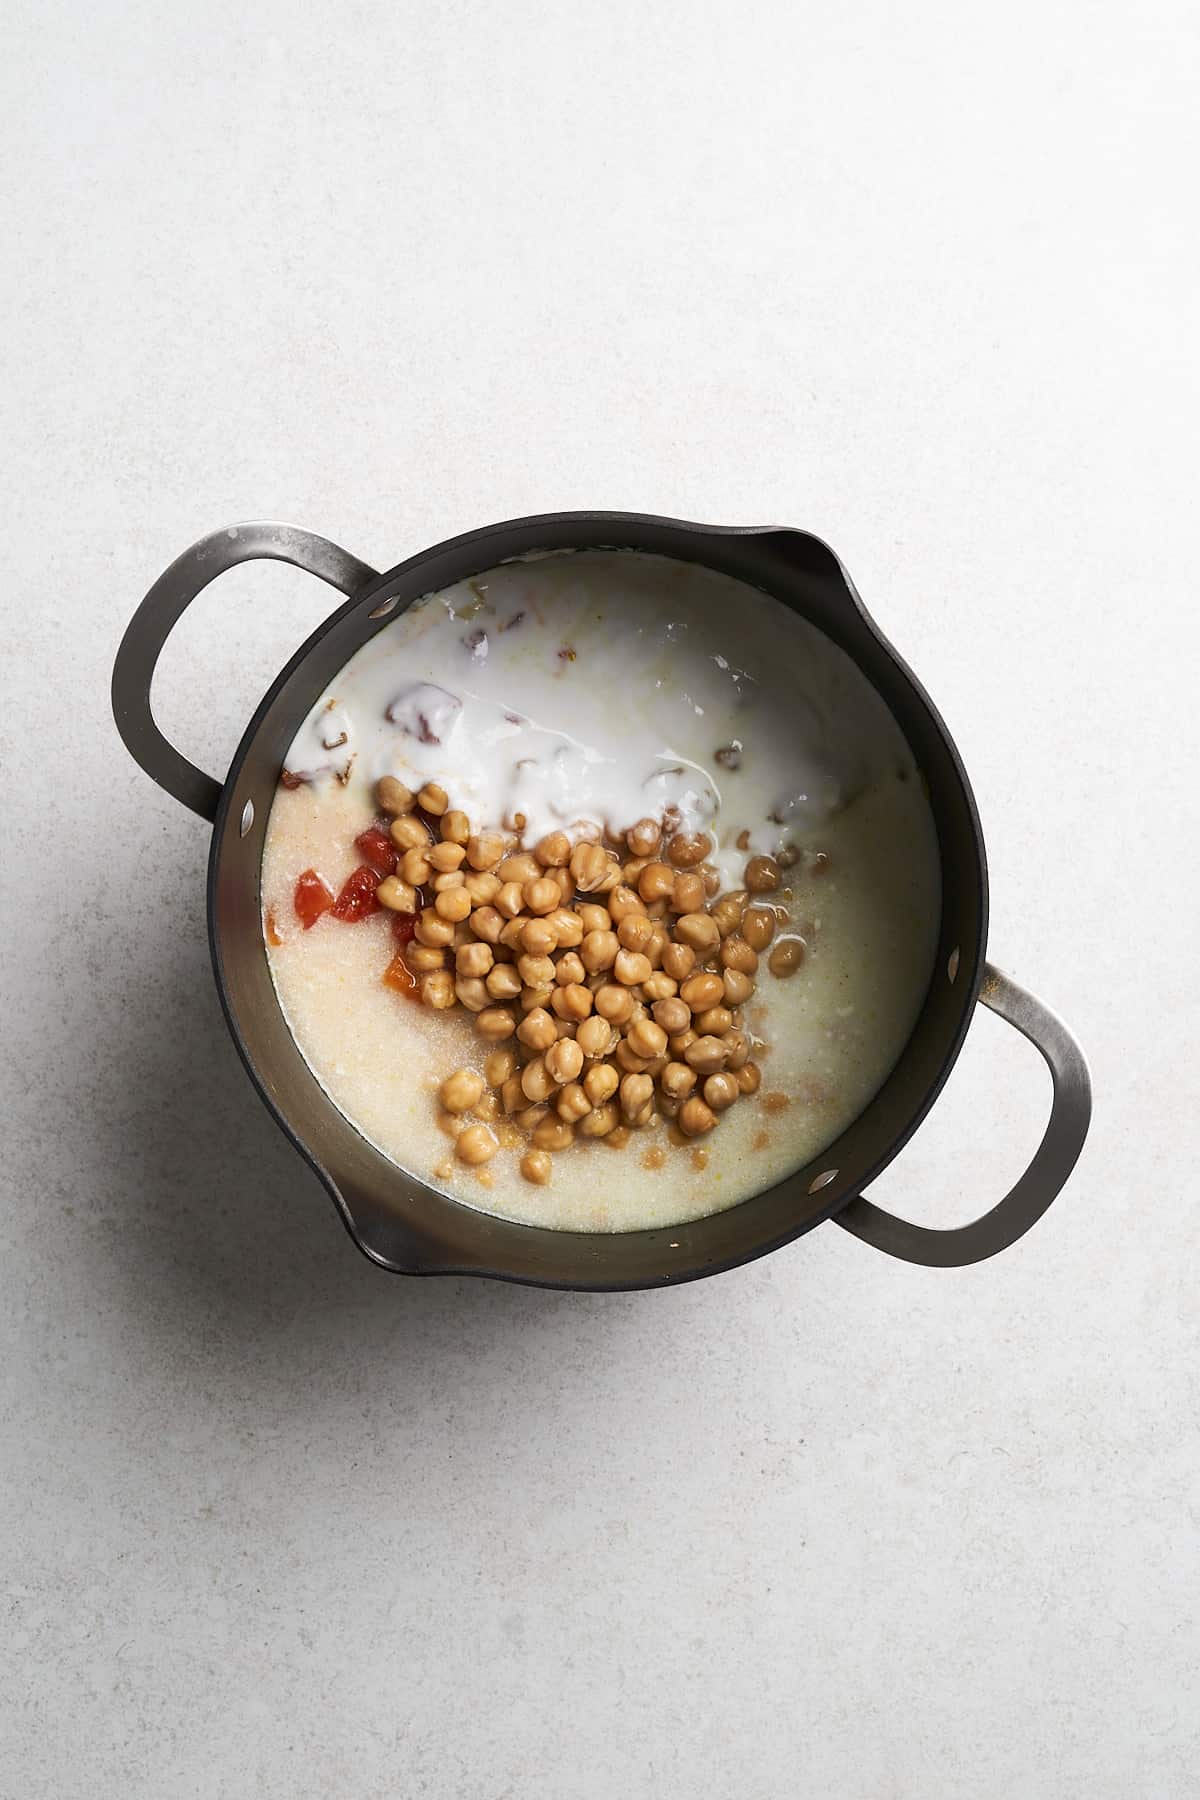
Step 3: Pour in the diced tomatoes and chickpeas. Mix everything well to ensure the chickpeas are coated with the spices, then add the coconut milk and water. Bring the curry to a gentle boil, then reduce the heat and let it simmer to give the flavors time to deepen and meld together.

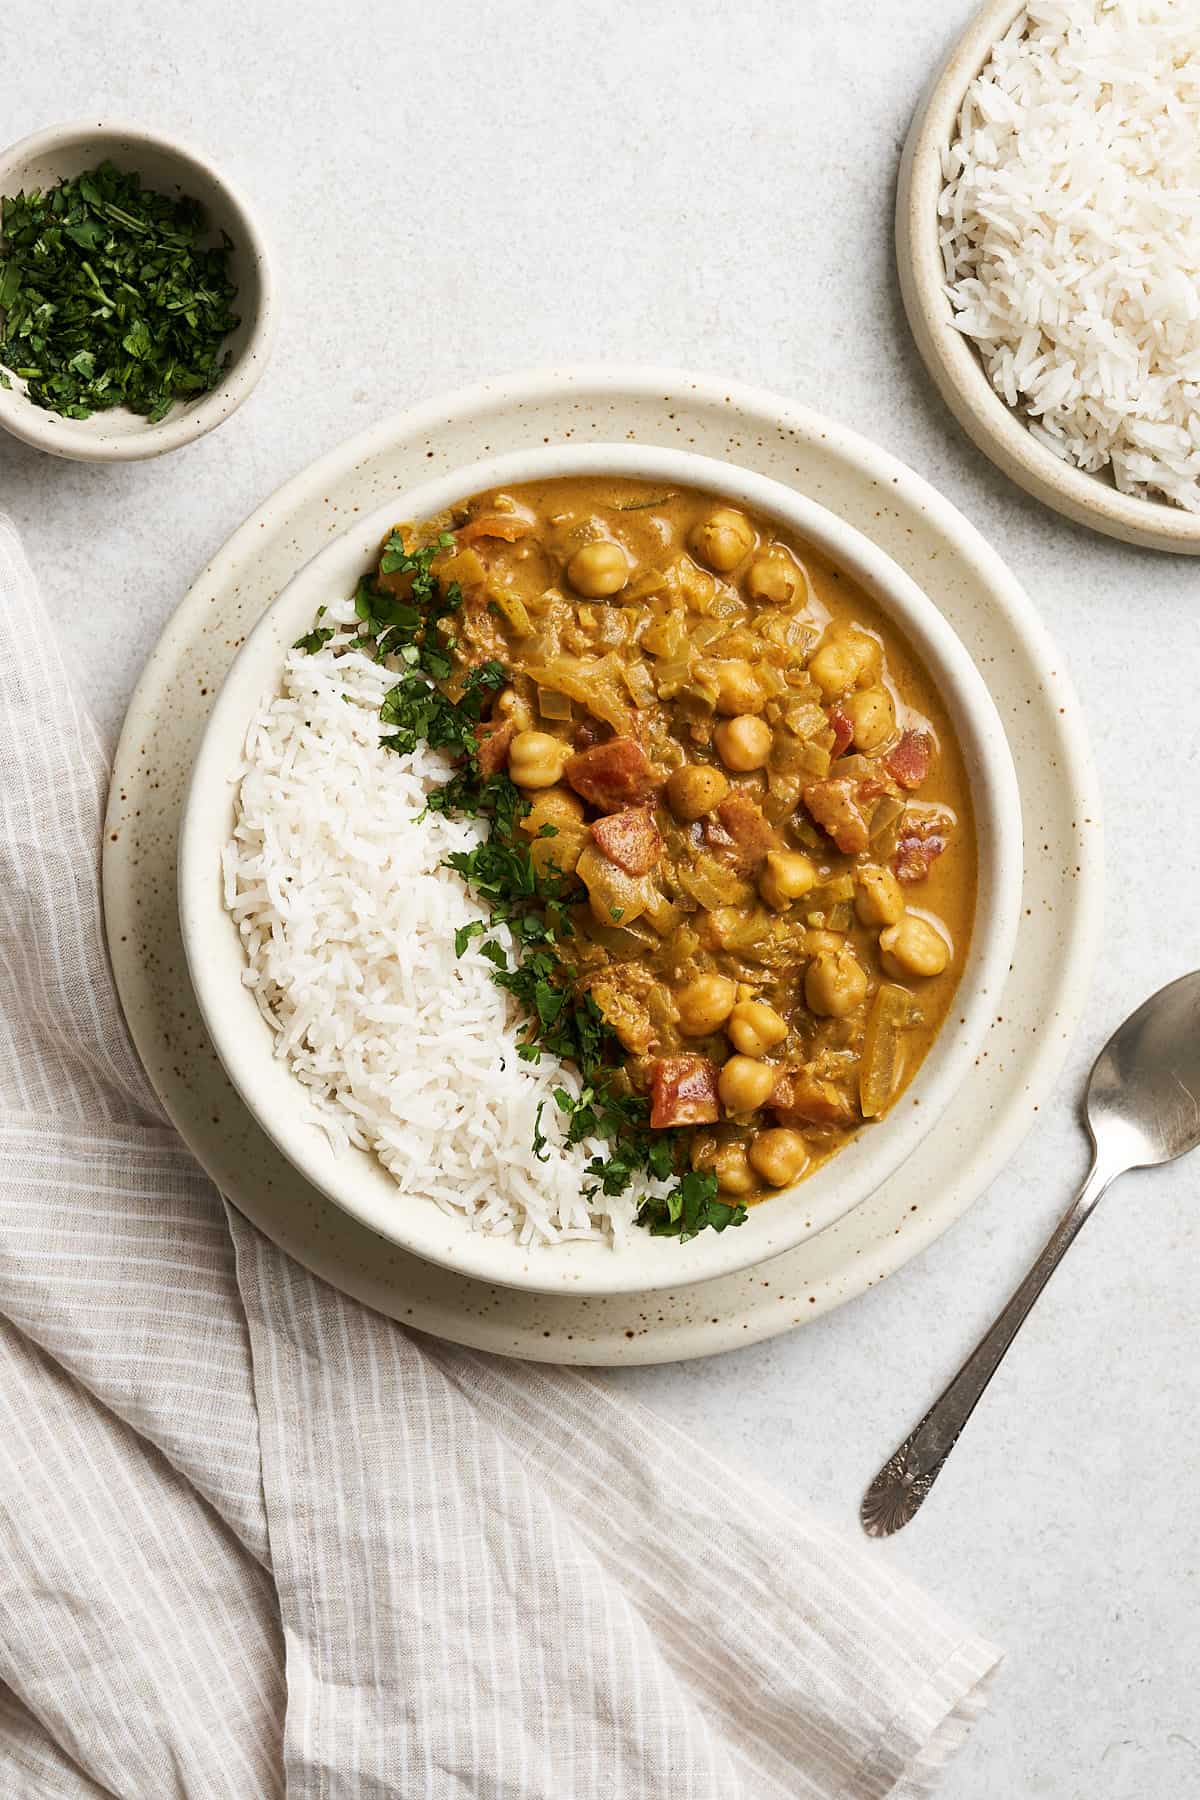
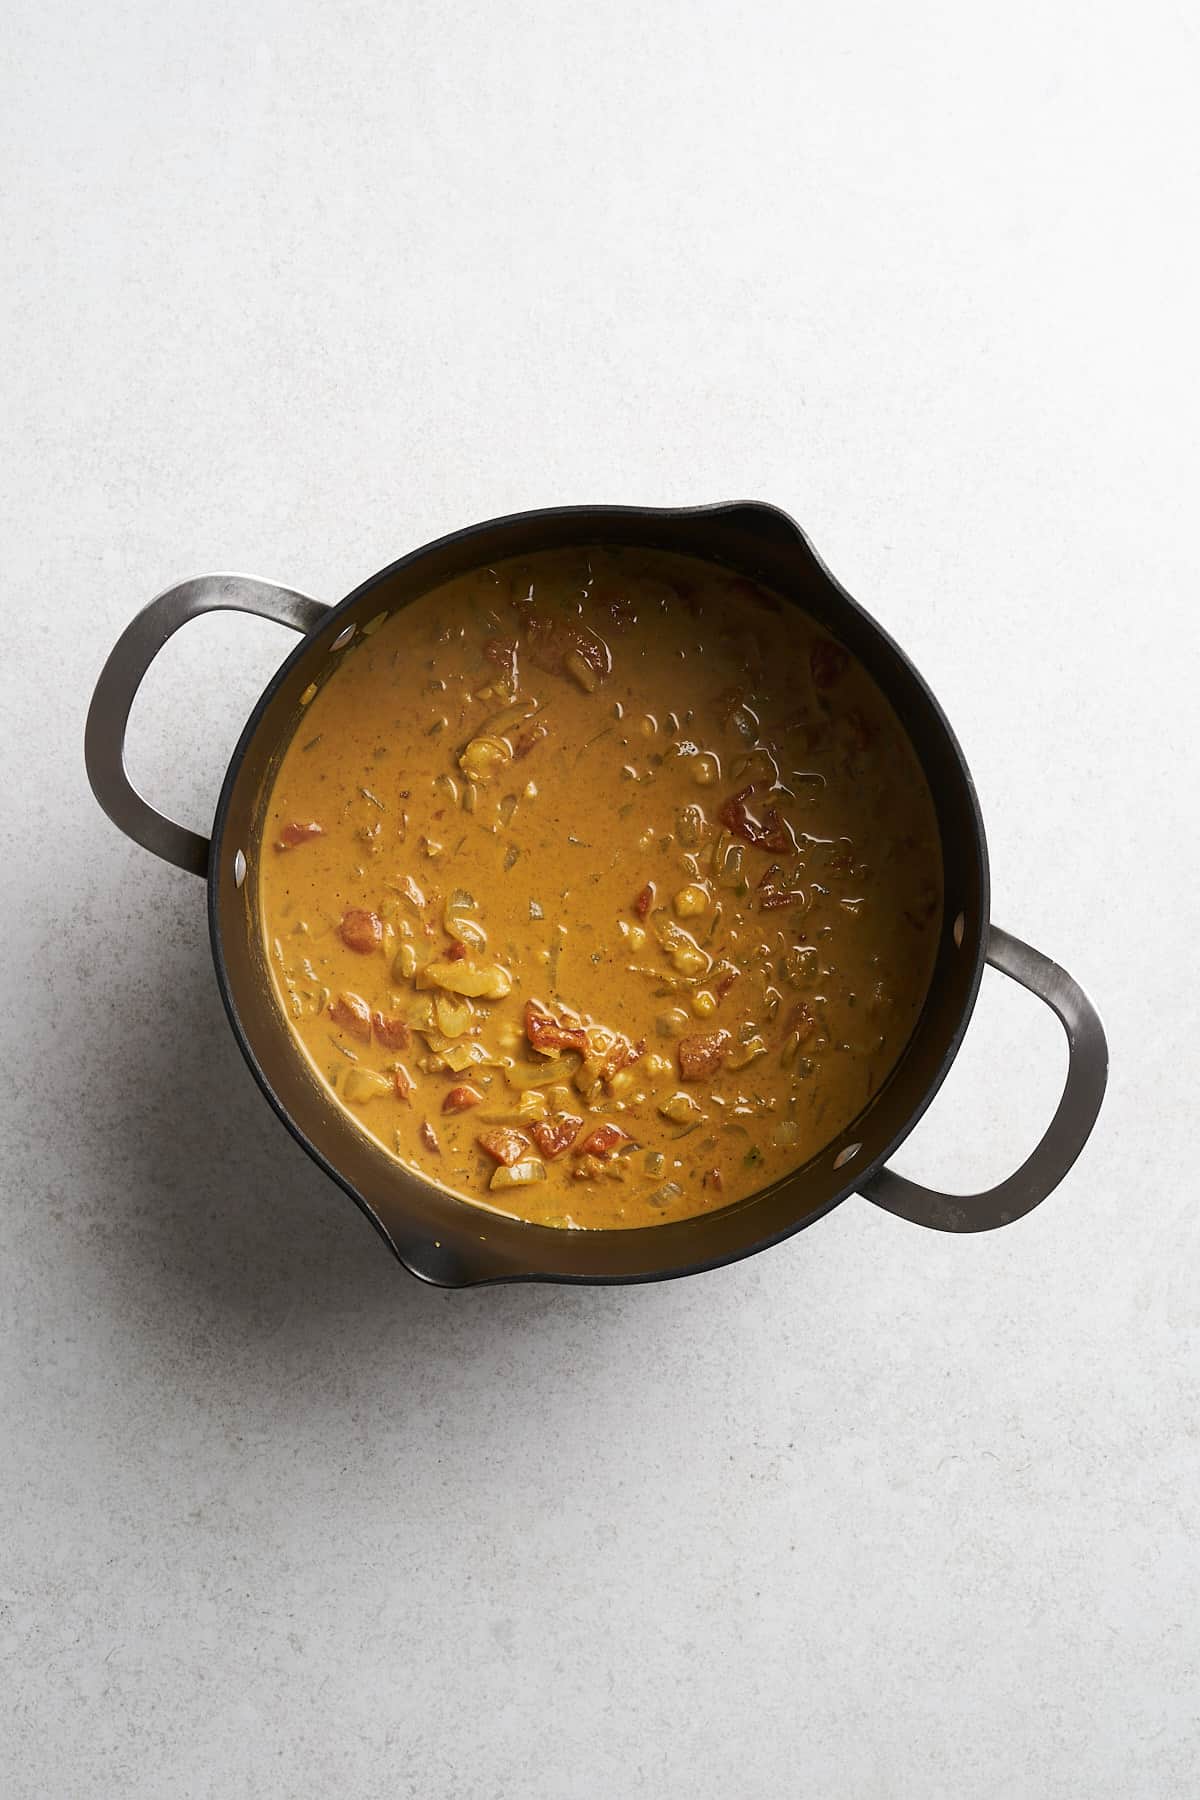
Step 4: Last but not least, stir in the garam masala and season the vegan chickpea curry with salt and pepper to your liking. Serve it warm with coconut yogurt, vegan naan, basmati or white rice, or a tomato cucumber salad. Happy eating!

Expert tip
Making Indian-style curry is all about properly tempering your spices, a process known as “tadka” or “bhuna.” Heating the curry powder in oil at the beginning of the cooking process releases its essential oils, enhancing the flavors and aromas of the curry. This step is essential for developing depth and complexity.
If you have questions about this recipe, check out the FAQs or leave a comment down below! Looking for more Indian-inspired recipes? check out my vegan lentil dal, baingan bharta, vegan butter chicken, and chana masala.
Recipe tips
Use quality spices: Fresh, high-quality spices make all the difference in curries. If you have access, source your spices from an Indian food market. Better yet, grind them yourself in a spice grinder or with a mortar and pestle.
Adjust the spice levels: Tailor the heat to your preference by increasing or decreasing the amount and type of spicy green chiles. Indian green chiles are the spiciest variety, followed closely by serranos, then jalapeños.
Use full-fat coconut milk: For a creamier, richer curry, use full-fat coconut milk. Try to avoid lite coconut milk or other plant milk varieties from cartons if possible. The fat content in coconut milk is the best way to emulate the richness of classic Indian curries in a dairy-free way.
Prevent burning: Prevent the curry from sticking and burning by stirring it frequently as it simmers. Additionally, using a non-stick pot can help prevent sticking even more. If you use a non-stick pot, remember to use silicone utensils!
Simmer gently: Avoid vigorously boiling this vegan chickpea curry to prevent the coconut milk from curdling or splitting. You want to keep coconut milk at lower temperatures. Plus, simmering over low heat melds the flavors without burning anything.
Storage & reheating
- Fridge: Transfer it to an airtight container, and it will keep for up to 4-5 days.
- Freezer: You can easily freeze leftovers in a freezer-safe container for up to 3 months, making this vegan chickpea curry recipe perfect for meal prepping!
- Reheating: Gently reheat it on the stove or in the microwave, adding a splash of water or vegetable broth if the curry has thickened too much.
- Prep ahead: This vegan chickpea curry can be fully made in advance and stored in the fridge, making meal times hassle-free.
Variations
- Potatoes: Include cubed potatoes or sweet potatoes for a chunkier version.
- Other veggies: You can use any vegetables you like or have on hand! Think bell peppers, carrots, zucchini, broccoli, eggplant, or green peas.
- Low carb: Use cauliflower florets instead of chickpeas for a low-carb option.
- Leafy greens: Mix in spinach, kale, or chard at the end of cooking for a nutritional boost, pop of color, and textural contrast.
FAQ
Absolutely! Just add all the ingredients except the coconut milk and garam masala, then cook on low for 6-8 hours or high for 3-4 hours. Stir in the coconut milk and garam masala at the end and you’re done!
Yes! I actually prefer using fresh chickpeas for their taste and texture, but you’ll need to soak and cook them beforehand. If you’re using an Instant Pot, you can skip soaking them and they should be ready in 45-60 minutes.
If your curry is too thin, let it simmer uncovered to reduce it, or add a cornstarch slurry by mixing 1 tablespoon of cornstarch with 2 tablespoons of water.
More curry recipes

25-Minute Vegan Chickpea Curry
Equipment
- Chef's knife
- Cutting board
- Stockpot
Ingredients
- 2 tablespoons coconut oil
- 1 large white or yellow onion (finely chopped)
- 4-5 cloves garlic (minced)
- 2 tablespoons minced ginger
- 1 green chile (finely diced)
- 1 tablespoon curry powder
- 1 14-ounce can diced tomatoes
- 2 15-ounce cans chickpeas (drained & rinsed)
- 1 14-ounce can full-fat coconut milk
- 1 cup water (or vegetable broth)
- 1 tablespoon garam masala
- Salt & pepper to taste
For serving
- Chopped cilantro
- Lime or lemon wedges
- Basmati rice
- Vegan naan
Instructions
- Heat the coconut oil in a large pot or Dutch oven over medium. Add the onions and sauté them for 4-5 minutes until they’re translucent and soft.
- Stir in the garlic, ginger, and green chile, cooking for another 2 minutes until the mixture is fragrant.
- Season the veggies with curry powder, stirring for another minute or so to combine the mixture and open up the curry powder.
- Pour in the diced tomatoes with their juices and the chickpeas, stirring to combine. Add the coconut milk and water, then bring the curry to a boil.
- Once boiling, reduce the heat to low and simmer for 10 minutes. Stir in garam masala and salt to taste, then let it simmer for another 2-3 minutes. If the curry is too thick, you can add a little more water to achieve your preferred consistency.
- Serve your vegan chickpea curry immediately while hot with chopped cilantro, lime or lemon wedges, basmati rice, or vegan naan. Happy eating!
Notes
- Use quality spices: Fresh, high-quality spices make all the difference in curries. If you have access, source your spices from an Indian food market. Better yet, grind them yourself in a spice grinder or with a mortar and pestle.
- Adjust the spice levels: Tailor the heat to your preference by increasing or decreasing the amount and type of spicy green chiles. Indian green chiles are the spiciest variety, followed closely by serranos, then jalapeños.
- Use full-fat coconut milk: For a creamier, richer curry, use full-fat coconut milk. Try to avoid lite coconut milk or other plant milk varieties from cartons if possible. The fat content in coconut milk is the best way to emulate the richness of classic Indian curries in a dairy-free way.
- Prevent burning: Prevent the curry from sticking and burning by stirring it frequently as it simmers. Additionally, using a non-stick pot can help prevent sticking even more. If you use a non-stick pot, remember to use silicone utensils!
- Simmer gently: Avoid vigorously boiling this vegan chickpea curry to prevent the coconut milk from curdling or splitting. You want to keep coconut milk at lower temperatures. Plus, simmering over low heat melds the flavors without burning anything.
- Nutritional information is a rough estimate and should not be taken as health advice.
Nutrition

Justine Drosdovech is a food writer, photographer, and one of the founders of Broke Bank Vegan. She is a self-taught plant-based chef but uses her healthcare background to craft dishes that are both delicious and nourishing.